# Deploy Silo as a Container
LLMS index: [llms.txt](/llms.txt)
---
This page documents deploying Silo as a container on an operating system that supports containerized processes.
This documentation assumes installation of Docker, Podman, or a similar runtime which supports the standard container image format. Published `pgsty/minio` release images use [Red Hat Universal Base Image 9 Micro](https://catalog.redhat.com/software/container-stacks/detail/609560d9e2b160d361d24f98).
Functionality and performance of the Silo container may be constrained by the base OS.
The procedure includes guidance for deploying Single-Node Multi-Drive (SNMD) and Single-Node Single-Drive (SNSD) topologies in support of early development and evaluation environments.
> [!WARNING]
> **Important**
>
> These examples cover Single-Node Single-Drive and Single-Node Multi-Drive development or evaluation deployments. They do not define a production Multi-Node Multi-Drive topology or an upgrade contract for Docker Compose, Docker Swarm, or another container orchestrator. For a production distributed deployment, use a tested [Kubernetes tenant workflow](/operations/deployments/k8s-deploy-minio-tenant-helm-on-kubernetes/) and validate persistence, networking, failure domains, and upgrades for your environment.
>
> The examples use `pgsty/minio:latest` for readability. Pin a tested Silo release tag or image digest in production; `latest` is not a version contract.
>
> The `MINIO_UPDATE=off` setting intentionally disables the server's in-place updater. The current updater retains the upstream MinIO release feed and signing key, so container upgrades must replace the image with a verified Silo tag or digest instead of running `mc admin update`.
## Considerations {#considerations}
### Review Checklists {#review-checklists}
Ensure you have reviewed our published Hardware, Software, and Security checklists before attempting this procedure.
### Erasure Coding Parity {#erasure-coding-parity}
Silo automatically determines the default [erasure coding](/operations/concepts/erasure-coding/#minio-erasure-coding) configuration for the cluster based on the total number of nodes and drives in the topology. You can configure the per-object [parity](/glossary/#term-parity) setting when you set up the cluster *or* let Silo select the default (`EC:4` for production-grade clusters).
Parity controls the relationship between object availability and storage on disk. The upstream MinIO [Erasure Code Calculator](https://min.io/product/erasure-code-calculator) can help compare parity levels; treat it as an upstream planning aid rather than a Silo support contract.
While you can change erasure parity settings at any time, objects written with a given parity do **not** automatically update to the new parity settings.
### Container Storage {#container-storage}
This procedure assumes you mount one or more dedicated storage devices to the container to act as persistent storage for Silo.
Data stored on ephemeral container paths is lost when the container restarts or is deleted. Use any such paths at your own risk.
## Procedure {#procedure}
1. Start the Container
This procedure provides instructions for Podman and Docker in rootfull mode. For rootless deployments, defer to documentation by each runtime for configuration and container startup.
For all other container runtimes, follow the documentation for that runtime and specify the equivalent options, parameters, or configurations.
**Podman**
The following command creates a folder in your home directory, then starts the Silo container using Podman:
```shell
mkdir -p ~/silo/data
podman run \
-p 9000:9000 \
-p 9001:9001 \
--name silo \
-v ~/silo/data:/data \
-e "MINIO_UPDATE=off" \
-e "MINIO_ROOT_USER=ROOTNAME" \
-e "MINIO_ROOT_PASSWORD=CHANGEME123" \
pgsty/minio:latest server /data --console-address ":9001"
```
The command binds ports `9000` and `9001` to the S3 API and Web Console respectively.
The local drive `~/silo/data` is mounted to the `/data` folder on the container. You can modify the [`MINIO_ROOT_USER`](/reference/minio-server/settings/root-credentials/#envvar.MINIO_ROOT_USER) and [`MINIO_ROOT_PASSWORD`](/reference/minio-server/settings/root-credentials/#envvar.MINIO_ROOT_PASSWORD) variables to change the root login as needed.
For multi-drive deployments, bind each local drive or folder it’s on sequentially-numbered path on the remote. You can then modify the [`minio server`](/reference/minio-server/#command-minio.server) startup to specify those paths:
```shell
mkdir -p ~/minio/data-{1..4}
podman run \
-p 9000:9000 \
-p 9001:9001 \
--name silo \
-v /mnt/drive-1:/mnt/drive-1 \
-v /mnt/drive-2:/mnt/drive-2 \
-v /mnt/drive-3:/mnt/drive-3 \
-v /mnt/drive-4:/mnt/drive-4 \
-e "MINIO_UPDATE=off" \
-e "MINIO_ROOT_USER=ROOTNAME" \
-e "MINIO_ROOT_PASSWORD=CHANGEME123" \
pgsty/minio:latest server /mnt/drive-{1...4} --console-address ":9001"
```
For Windows hosts, specify the local folder path using Windows filesystem semantics `C:\minio\:/data`.
**Docker**
The following command creates a folder in your home directory, then starts the Silo container using Docker:
```shell
mkdir -p ~/silo/data
docker run \
-p 9000:9000 \
-p 9001:9001 \
--name silo \
-v ~/silo/data:/data \
-e "MINIO_UPDATE=off" \
-e "MINIO_ROOT_USER=ROOTNAME" \
-e "MINIO_ROOT_PASSWORD=CHANGEME123" \
pgsty/minio:latest server /data --console-address ":9001"
```
The command binds ports `9000` and `9001` to the S3 API and Web Console respectively.
The local drive `~/silo/data` is mounted to the `/data` folder on the container. You can modify the [`MINIO_ROOT_USER`](/reference/minio-server/settings/root-credentials/#envvar.MINIO_ROOT_USER) and [`MINIO_ROOT_PASSWORD`](/reference/minio-server/settings/root-credentials/#envvar.MINIO_ROOT_PASSWORD) variables to change the root login as needed.
For multi-drive deployments, bind each local drive or folder it’s on sequentially-numbered path on the remote. You can then modify the [`minio server`](/reference/minio-server/#command-minio.server) startup to specify those paths:
```shell
mkdir -p ~/minio/data-{1..4}
docker run \
-p 9000:9000 \
-p 9001:9001 \
--name silo \
-v /mnt/drive-1:/mnt/drive-1 \
-v /mnt/drive-2:/mnt/drive-2 \
-v /mnt/drive-3:/mnt/drive-3 \
-v /mnt/drive-4:/mnt/drive-4 \
-e "MINIO_UPDATE=off" \
-e "MINIO_ROOT_USER=ROOTNAME" \
-e "MINIO_ROOT_PASSWORD=CHANGEME123" \
pgsty/minio:latest server /mnt/drive-{1...4} --console-address ":9001"
```
For Windows hosts, specify the local folder path using Windows filesystem semantics `C:\minio\:/data`.
### 2. Connect to the Deployment {#connect-to-the-deployment}
**Console**
Open your browser to [http://localhost:9001](http://localhost:9001) to open the [Silo Console](/administration/minio-console/#minio-console) login page.
Log in with the **MINIO_ROOT_USER** and **MINIO_ROOT_PASSWORD** from the previous step.
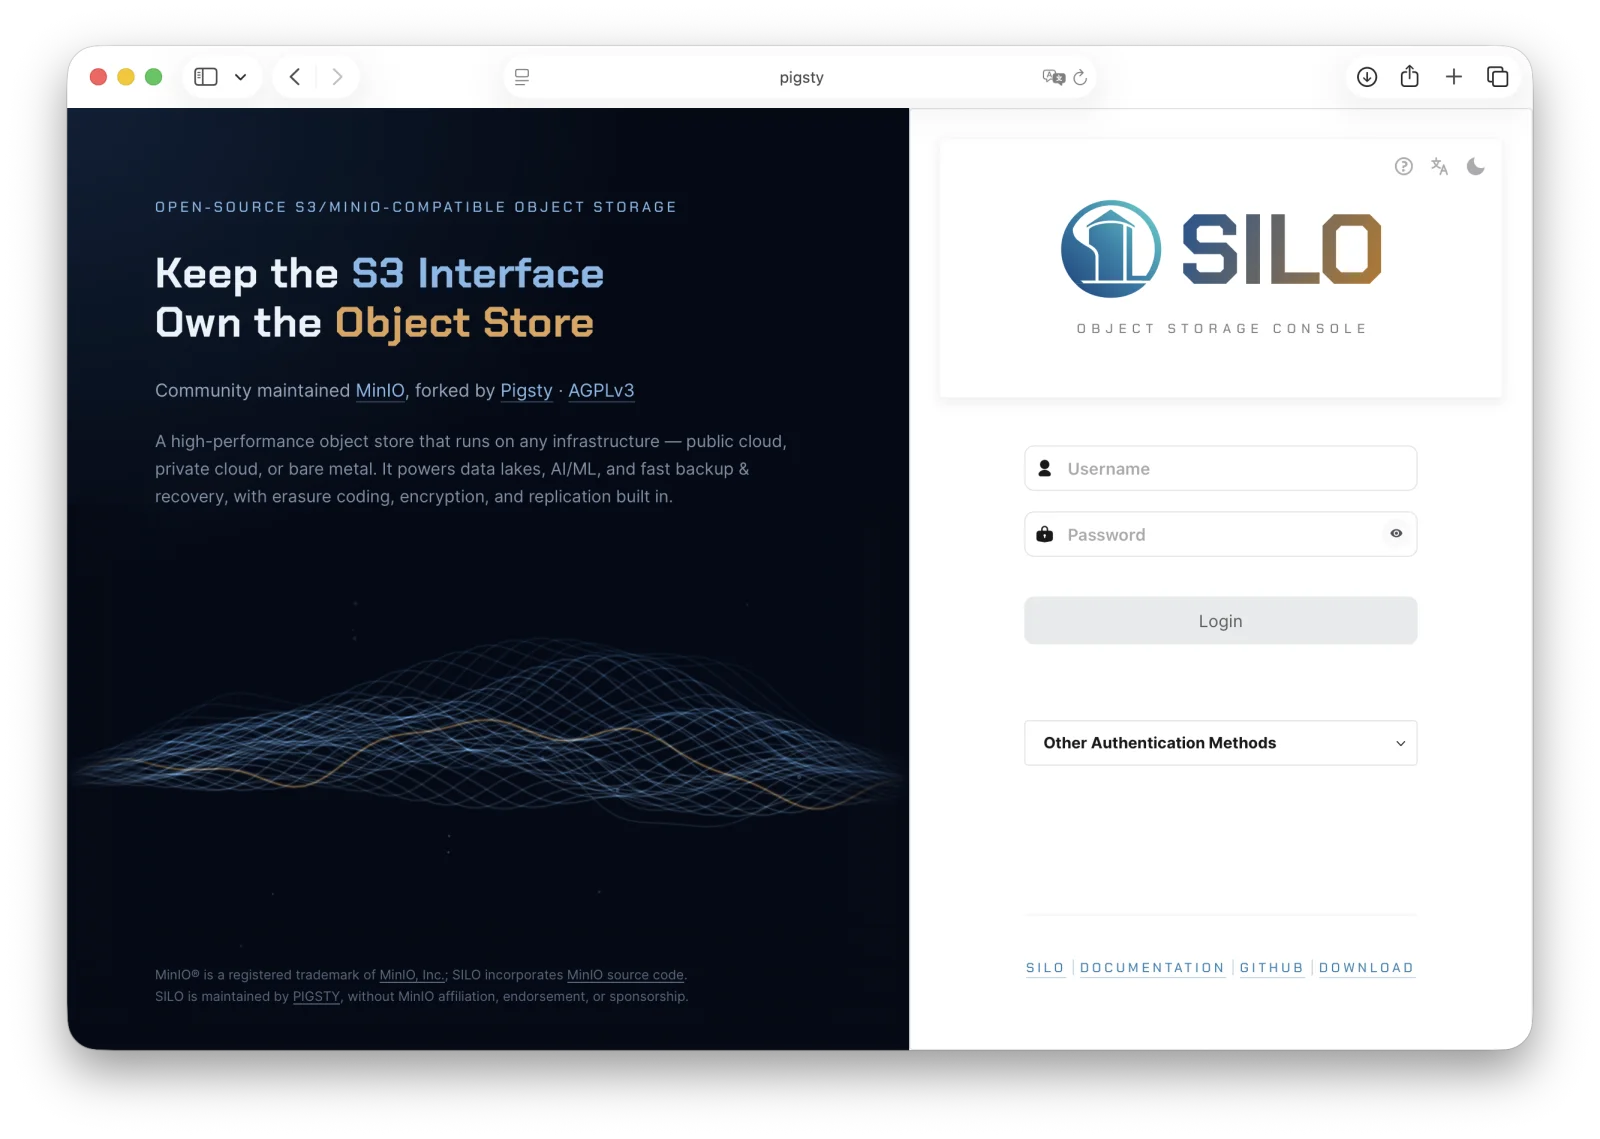 You can use the embedded Console for general administration tasks like Identity and Access Management, Metrics and Log Monitoring, or Server Configuration.
**CLI**
Follow the [Silo client installation instructions](/reference/minio-mc/#mc-install) for `mcli` on your local host. Run `mcli --version` to verify the installation. Published standalone archives and Linux packages install `mcli`; source builds and the client container retain the `mc` executable name.
Once installed, create an alias for the Silo deployment:
```shell
mcli alias set silo http://localhost:9000 USERNAME PASSWORD
```
Change the hostname, username, and password to reflect your deployment.
You can use the embedded Console for general administration tasks like Identity and Access Management, Metrics and Log Monitoring, or Server Configuration.
**CLI**
Follow the [Silo client installation instructions](/reference/minio-mc/#mc-install) for `mcli` on your local host. Run `mcli --version` to verify the installation. Published standalone archives and Linux packages install `mcli`; source builds and the client container retain the `mc` executable name.
Once installed, create an alias for the Silo deployment:
```shell
mcli alias set silo http://localhost:9000 USERNAME PASSWORD
```
Change the hostname, username, and password to reflect your deployment.