Deploy Silo on Ubuntu Linux
This page documents deploying Silo on Ubuntu Linux.
Silo publishes DEB packages and standalone Linux archives for x86-64 and ARM64. The project does not publish a separate Ubuntu support-lifecycle matrix, so the inherited point-in-time release list has been removed. Use an Ubuntu release still supported by its distributor, keep the kernel and system libraries current, and validate the exact storage and workload configuration before production use.
The procedure focuses on production-grade Multi-Node Multi-Drive (MNMD) “Distributed” configurations. MNMD deployments provide enterprise-grade performance, availability, and scalability and are the recommended topology for all production workloads.
The procedure includes guidance for deploying Single-Node Multi-Drive (SNMD) and Single-Node Single-Drive (SNSD) topologies in support of early development and evaluation environments.
Considerations
Review Checklists
Ensure you have reviewed our published Hardware, Software, and Security checklists before attempting this procedure.
Erasure Coding Parity
MinIO automatically determines the default erasure coding configuration for the cluster based on the total number of nodes and drives in the topology. You can configure the per-object parity setting when you set up the cluster or let MinIO select the default (EC:4 for production-grade clusters).
Parity controls the relationship between object availability and storage on disk. Use the MinIO Erasure Code Calculator for guidance in selecting the appropriate erasure code parity level for your cluster.
While you can change erasure parity settings at any time, objects written with a given parity do not automatically update to the new parity settings.
Capacity-Based Planning
MinIO recommends planning storage capacity sufficient to store at least 2 years of data before reaching 70% usage. Performing server pool expansion more frequently or on a “just-in-time” basis generally indicates an architecture or planning issue.
For example, consider an application suite expected to produce at least 100 TiB of data per year and a 3 year target before expansion. By ensuring the deployment has ~500TiB of usable storage up front, the cluster can safely meet the 70% threshold with additional buffer for growth in data storage output per year.
Consider using the MinIO Erasure Code Calculator for guidance in planning capacity around specific erasure code settings.
Procedure
1. Download the Silo DEB
Download the DEB for your architecture from Download & Install, verify its published checksum, and install it. Use the arm64 filename on ARM64 hosts.
2. Review the systemd Service File
The .deb package install the following systemd service file to /usr/lib/systemd/system/minio.service:
3. Create a User and Group for MinIO
The minio.service file runs as the minio-user User and Group by default. You can create the user and group using the groupadd and useradd commands. The following example creates the user, group, and sets permissions to access the folder paths intended for use by MinIO. These commands typically require root (sudo) permissions.
The command above creates the user without a home directory, as is typical for system service accounts.
You must chown the drive paths you intend to use with MinIO. If the minio-user user or group cannot read, write, or list contents of any drive, the MinIO process returns errors on startup.
For example, the following command sets minio-user:minio-user as the user-group owner of all drives at /mnt/drives-n where n is between 1 and 16 inclusive:
4. Enable TLS Connectivity
You can skip this step to deploy without TLS enabled. MinIO strongly recommends against non-TLS deployments outside of early development.
Create or provide Transport Layer Security (TLS) certificates to MinIO to automatically enable HTTPS-secured connections between the server and clients.
MinIO expects the default certificate names of private.key and public.crt for the private and public keys respectively. Place the certificates in a directory accessible by the minio-user user/group:
MinIO verifies client certificates against the OS/System’s default list of trusted Certificate Authorities. To enable verification of third-party or internally-signed certificates, place the CA file in the /opt/minio/certs/CAs folder. The CA file should include the full chain of trust from leaf to root to ensure successful verification.
For more specific guidance on configuring MinIO for TLS, including multi-domain support via Server Name Indication (SNI), see Network Encryption (TLS).
Certificates for Early Development
For local testing or development environments, you can use the MinIO certgen to mint self-signed certificates. For example, the following command generates a self-signed certificate with a set of IP and DNS Subject Alternate Names (SANs) associated to the MinIO Server hosts:
Place the generated public.crt and private.key into the /path/to/certs directory to enable TLS for the MinIO deployment. Applications can use the public.crt as a trusted Certificate Authority to allow connections to the MinIO deployment without disabling certificate validation.
5. Create the MinIO Environment File
Create an environment file at /etc/default/minio. The MinIO service uses this file as the source of all environment variables used by MinIO and the minio.service file.
Modify the example to reflect your deployment topology.
Use Multi-Node Multi-Drive (“Distributed”) deployment topologies in production environments.
Use Single-Node Multi-Drive deployments in development and evaluation environments. You can also use them for smaller storage workloads which can tolerate data loss or unavailability due to node downtime.
Use Single-Node Single-Drive (“Standalone”) deployments in early development and evaluation environments. MinIO does not recommend Standalone deployments in production, as the loss of the node or its storage medium results in data loss.
Important
SNSD deployments do not support storage expansion through adding new server pools.
Specify any other environment variables or server command-line options as required by your deployment.
For distributed deployments, all nodes must have matching /etc/default/minio environment files. Use a utility such as shasum -a 256 /etc/default/minio on each node to verify an exact match across all nodes.
6. Start the MinIO Deployment
Use systemctl start minio to start each node in the deployment.
You can track the status of the startup using journalctl -u minio on each node.
On successful startup, the MinIO process emits a summary of the deployment that resembles the following output:
You may see increased log churn as the cluster starts up and synchronizes.
Common reasons for startup failure include:
- The MinIO process does not have read-write-list access to the specified drives
- The drives are not empty or contain non-MinIO data
- The drives are not formatted or mounted properly
- One or more hosts are not reachable over the network
Following our checklists typically mitigates the risk of encountering those or similar issues.
7. Connect to the Deployment
Open your browser and access any of the MinIO hostnames at port :9001 to open the MinIO Console login page. For example, https://minio1.example.com:9001.
Log in with the MINIO_ROOT_USER and MINIO_ROOT_PASSWORD from the previous step.
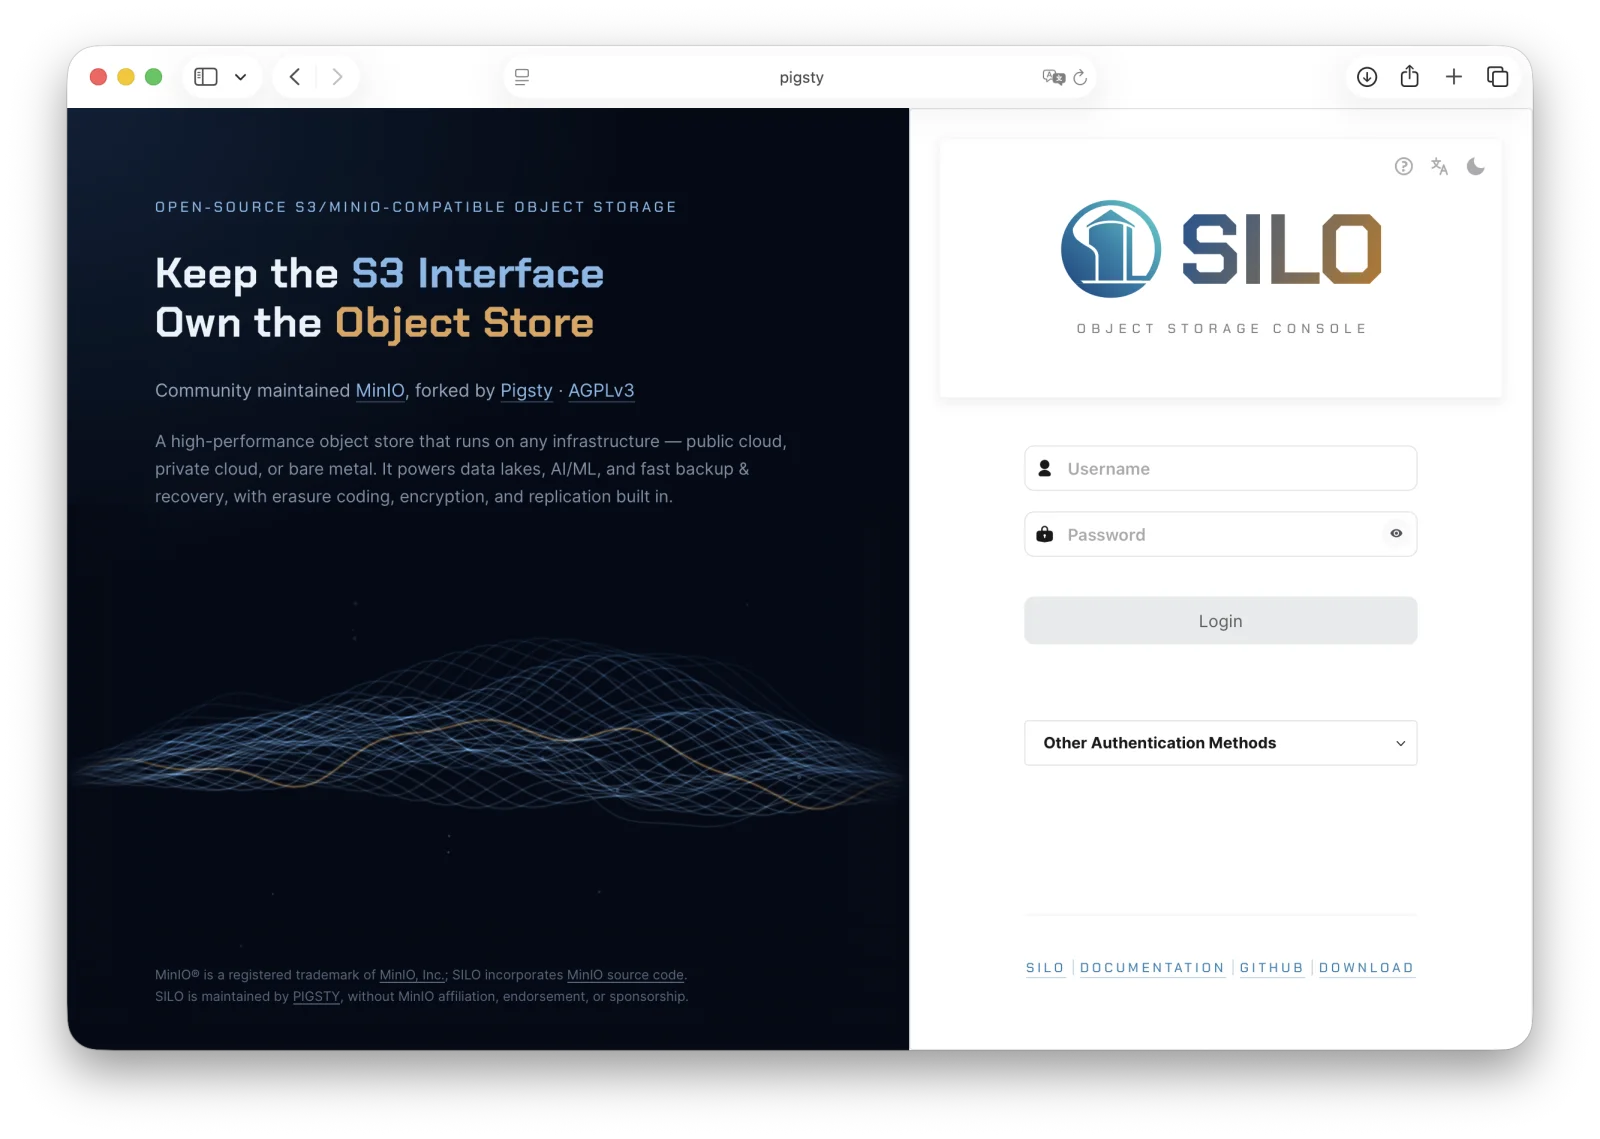
You can use the MinIO Console for general administration tasks like Identity and Access Management, Metrics and Log Monitoring, or Server Configuration. Each MinIO server includes its own embedded MinIO Console.
Follow the installation instructions for mc on your local host. Run mc --version to verify the installation.
If your MinIO deployment uses third-party or self-signed TLS certificates, copy the CA files to ~/.mc/certs/CAs to allow mc
Once installed, create an alias for the MinIO deployment:
Change the hostname, username, and password to reflect your deployment. The hostname can be any MinIO node in the deployment. You can also specify the hostname load balancer, reverse proxy, or similar network control plane that handles connections to the deployment.
8. Next Steps
- Enable TLS before exposing the service beyond a trusted network.
- Create least-privilege users and policies through Identity and Access Management.
- Configure monitoring and alerting, then test drive, node, and site recovery procedures before production use.